Key Takeaways
- A dash cam records your driving and provides video evidence for accidents or disputes.
- It should be mounted behind the rearview mirror to keep the road view clear.
- You can power it using a cigarette lighter adapter or hardwire it for a cleaner setup.
- After installation, test it, adjust settings, and maintain it for reliable recordings.
What is a Dash Cam and How Does it Work?
A dash cam is a small camera mounted on a vehicle’s windshield or dashboard that records video while driving. It captures footage of the road and can provide evidence in case of accidents or disputes.
The dash cam works by continuously recording video onto a memory card, overwriting old footage when storage is full. It powers on automatically when the car starts and may include features like night vision, GPS tracking, and parking mode for security.
Read More: What is Dash Cam
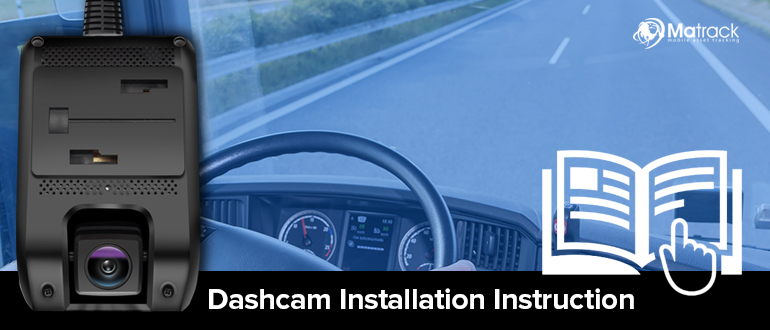
Steps to Install a Dash Cam
Gather the Necessary Tools
Before starting, make sure you have everything needed for the installation:
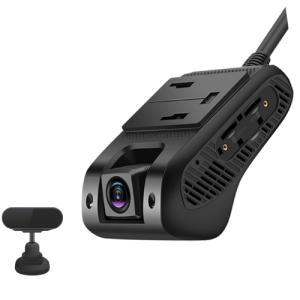
- Dash Cam (Front or Dual)
- MicroSD Card (Class 10, at least 32GB)
- Power Cable (Cigarette lighter adapter or hardwiring kit)
- Trim Removal Tool (For hiding cables)
- Cable Clips or Adhesive Tape (For securing wires)
- Fuse Tap & Multimeter (For hardwiring)
Choose the Best Mounting Position
- Place the dash cam behind the rearview mirror, slightly toward the passenger side.
- Ensure it does not obstruct your view or vehicle sensors.
- For dual dash cams, mount the rear camera at the center of the rear windshield.
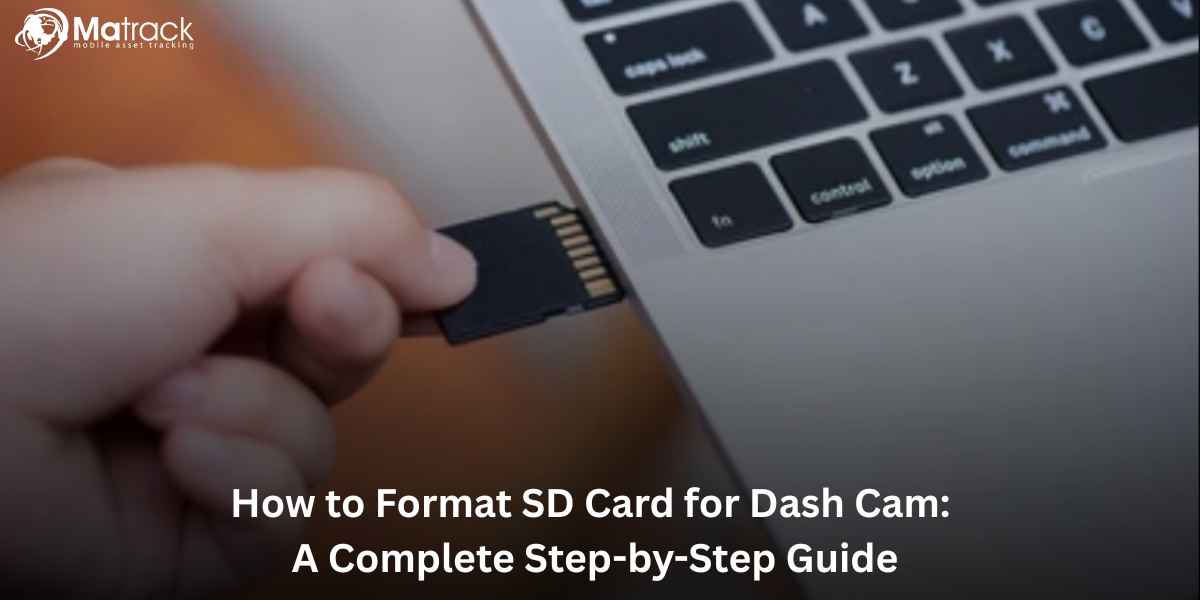
Insert the MicroSD Card
- Turn off the dash cam before inserting the MicroSD card.
- Ensure the card is properly formatted in the dash cam settings.
Mount the Dash Cam on the Windshield
- Clean the windshield area with alcohol wipes to ensure strong adhesion.
- Remove the adhesive backing from the dash cam mount.
- Firmly press the dash cam onto the windshield and adjust the angle for a clear road view.
Route the Power Cable
- Tuck the cable along the headliner, down the A-pillar, and toward the power source.
- Use a trim removal tool to hide wires behind panels for a neat setup.
- Secure any loose wires using cable clips or adhesive tape.
Connect the Dash Cam to Power
Option 1: Using a Cigarette Lighter Adapter (Easy Method)
- Plug the power cable into the dash cam.
- Insert the 12V adapter into the cigarette lighter socket.
- Turn on the car to check if the dash cam powers up.
Option 2: Hardwiring for a Cleaner Setup
- Locate the fuse box (refer to the vehicle manual).
- Use a multimeter to find a fuse that powers on with the ignition.
- Connect the hardwire kit using a fuse tap and ground the wire to a metal bolt.
- Test the connection by starting the vehicle and checking if the dash cam turns on.
Install a Rear Dash Cam (If Applicable)
- Attach the rear camera to the center of the rear windshield.
- Route the cable along the headliner and connect it to the front dash cam.
- Adjust the rear camera angle to capture a clear view behind the vehicle.
Configure Dash Cam Settings
- Set the video resolution (1080p or higher for clear footage).
- Enable loop recording to overwrite old files when storage is full.
- Adjust the G-sensor sensitivity to detect impacts.
- Set the date and time for accurate timestamps.
Test the Dash Cam
- Start the car and check if the dash cam powers on automatically.
- Review a test recording to ensure the angle and clarity are correct.
- Adjust the camera position if needed.
Secure and Finalize the Installation
- Double-check that all cables are hidden and secured.
- Make sure the dash cam is firmly mounted and does not shake.
- Keep the cigarette lighter socket free if using a hardwired setup.
Matrack Fleet Dash Cam
Matrack’s fleet dash cam provides real-time monitoring and GPS tracking, ensuring enhanced safety and efficiency for fleet operations. It records critical events like harsh braking, lane changes, and potential collisions while instantly alerting drivers to prevent accidents.
Matrack’s fleet dash cam supports up to five cameras, offering complete visibility of the truck’s front, rear, sides, and driver-facing views. With remote video access, fleet managers can review incidents, exonerate drivers from false claims, and improve overall safety and accountability.
Conclusion
Installing a dash cam ensures you have a reliable way to record road incidents and protect yourself in case of accidents. A proper installation keeps wires hidden, prevents distractions, and ensures clear video recordings.
Once installed, test the dash cam to confirm it powers on and records correctly. Regularly check the camera, clean the lens, and format the memory card to keep it working smoothly.