Key Takeaways:
- Post-trip inspections help CDL drivers catch safety issues and meet FMCSA compliance.
- A complete vehicle checklist ensures all parts are checked before the next trip.
- Digital DVIRs improve reporting speed, accuracy, and help maintenance teams act faster.
- Doing inspections the right way every day reduces breakdowns and repair costs.
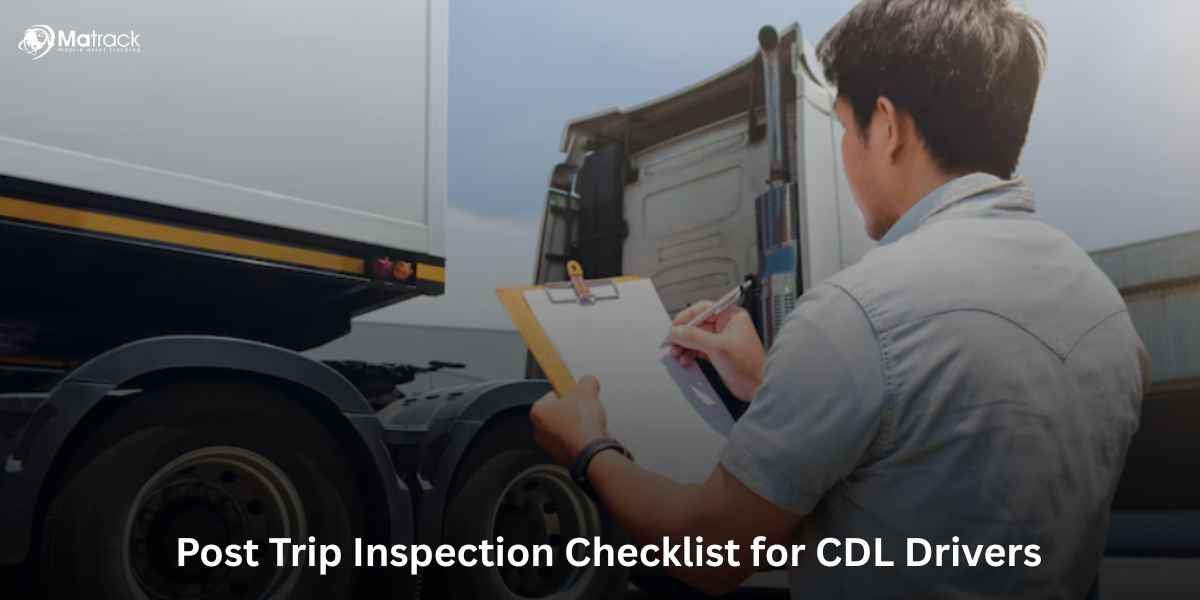
What is a Post Trip Inspection?
Post trip inspection means checking the vehicle after finishing a trip. The driver looks for any problems, writes them down, and makes sure the truck or bus is ready and safe for the next drive.
As per FMCSA commercial drivers must do this and fill out a report, either on paper or digitally, to record the vehicle’s condition.
Why is Post Trip Inspection Important?
Ensures Vehicle Safety
Post trip inspections increase the likelihood of identifying mechanical failures before they escalate. Detecting worn-out brakes, broken lights, or fluid leaks at the end of a trip prevents safety hazards on the next drive.
Protects Drivers and Fleets
Inspections reduce on-road breakdowns, limiting emergency repairs, and driver downtime. Fewer breakdowns increase trust between drivers, fleet managers, and clients.
Supports Regulatory Compliance
FMCSA mandates post-trip inspections for commercial vehicles. Skipping them can lead to fines, CSA score penalties, and vehicle downtime due to roadside inspections.
Reduces Maintenance Costs
Routine checks catch small defects early. Fixing minor issues prevents expensive damage and extends the life of components such as tires, suspension, and brakes.
When is Post Trip Inspection Required?
Post trip inspection must be done at the end of each driving day. In the U.S., FMCSA rule 396.11 says drivers should document any defects affecting the safety or operation of the vehicle, especially if those defects could result in a crash or breakdown.
Drivers must complete and sign a Driver Vehicle Inspection Report (DVIR). If no defects are found, a report may still be required depending on company policy.
Post-Trip Inspection Checklist
This checklist is designed to guide drivers through a full post-trip inspection, section by section.
The goal is simple: catch problems early, keep equipment safe, and stay compliant.
Under the Hood – Passenger Side
- Air filter housing: Check that it’s secured tightly and the cover is locked in place.
- Windshield washer fluid reservoir: Make sure there are no leaks and the fluid level is where it should be.
- Turbocharger: Look for signs of oil or exhaust leaks around the unit.
- Engine air ducts: Ensure there are no cuts or tears and all clamps are fastened properly.
- Alternator: Confirm it’s mounted securely and there are no damaged or hanging wires.
- Drive belt: Inspect for cracking, fraying, or looseness.
- Air conditioning compressor: Check that the mounting is solid and the unit isn’t leaking.
Front Brakes
- Brake drum: No cracks or deep scoring.
- Brake lining: Should not be cracked or too thin.
- Inner oil seal: Not directly visible, but check for oil streaks on the inner wheel or tire.
- Slack adjuster: Proper angle, with clevis and cotter pin intact.
- Brake air line: No cuts or bulges; fittings must be snug.
- Brake chamber: Mounting bolts and band clamp should be secured.
Front Wheels
- Tires: Look for abrasions, bulges, cuts; tread depth should be at least 4/32″; tire pressure around 120 PSI.
- Rims: Must not be bent or cracked.
- Hub oil: Check for leaks and confirm the oil is at the right level (if not a sealed unit).
- Outer oil seal: Dry and leak-free.
- Valve cap: Should not be missing.
- Lug nuts: None should be loose or missing; no streaks or shiny spots indicating movement.
Driver-Side Engine Area
- Radiator brace: No cracks or missing bolts.
- Radiator: Check for leaks and make sure it’s firmly mounted.
- Water pump: Should not be leaking or loose.
- Fuel filter and separator: Dry and securely in place.
- Pitman arm and drag link: No cracks; castle nuts must be pinned.
- Steering gearbox: Firmly mounted with no signs of leaking.
- Power steering reservoir: Fluid should be at the correct level, with no visible leaks.
- Dipstick: Confirm proper oil level and re-secure after use.
- Steering shaft: Should not have excess play or visible damage.
- Fuel pump: Mounted tightly, free from cracks or wear.
- Brake master cylinder: No fluid leaks; level should be within range.
- Oil filler cap: Sealed and not cracked.
- Coolant reservoir: No leaks, fluid clearly visible at correct level.
Steer Axle Suspension
- U-bolts: No cracks, all nuts must be present and tight.
- Leaf spring: No shifting, damage, or separation.
- Tie rod: Ends must be secure with pins in place.
- Shock absorber: Must be tight and not leaking oil.
- Axle: Solid, no signs of cracks or fatigue.
Rear Suspension
- Spring mount: Fully attached with no broken welds.
- Tires: Pressure around 110 PSI; minimum tread depth 2/32″; inspect for ABCs.
- Air bags: Must be fully inflated and not torn or leaking.
- Shock absorber: No fluid leaks; mounting hardware intact.
Side of Cab
- Mirrors: Mounts should be tight; no cracked or loose glass.
- Doors: Should open and close easily; check hinges and latches.
- Turn signals and lights: Working properly; lens covers not broken.
- Steps: Firmly mounted; no wobbling or rust damage.
- Battery box: Closed, latched, and cables not exposed.
- DEF cap: Present and secured.
- Fuel cap: Tightly sealed with gasket and chain in place.
- Side skirting: No body damage; panels fastened.
- Side box: Secured; emergency triangles should be inside.
- Sleeper berth and window: No visible damage or cracks.
Rear of Cab
- Electrical cord: No exposed wires or corrosion; plug connection must be tight.
- Air lines: Not tangled or pinched; grommets must be in good condition.
- Cab shock absorber: Firmly mounted, no leaks.
- Cab air bag: Should be inflated and mounted securely.
Driveline and Rear Frame
- Driveshaft: Straight with no signs of cracking.
- U-joints: Bolts must be tight; check for shiny spots (could indicate movement).
- Differential: Check for leaks around the housing.
- Frame: Should be straight with no cracks or non-factory welds.
Fifth Wheel Assembly
- Pivot pin: Secured with pin and cotter key.
- Slider lock pins: Fully engaged.
- Release arm: Should be straight and functioning.
- Slider rails and stop blocks: No missing bolts or broken welds.
- Fifth wheel platform: Greased and tilting correctly.
Trailer – Front Section
- Top rail: No collision damage or cracking.
- Clearance lights: All functioning; no broken lenses.
- Registration and height stickers: Present and readable.
- Document box: Properly closed and mounted.
- Air and electrical lines: No damage or loose fittings.
- Placard holders and tracking device: Clean and undamaged.
Trailer – Side
- Top rail and panels: No tears, dents, or loose rivets.
- Lights: Operational and not broken.
- Landing gear: Legs straight; pads not bent or cracked; handle stored.
- Reflective tape: Clean and unpeeled.
- Placard holders: Secure and undamaged.
Trailer – Rear Section
- Doors and latches: Must close firmly; hinges and bolts tight.
- Lights and reflectors: All working; no cracks or missing covers.
- Splash guards and brackets: Firmly attached.
- Bumper and license plate: No damage; plate light must be functional.
- Seals and rubber tubing: No separation or sagging.
Trailer Suspension and Brakes
- Air lines and fittings: No rubbing, leaks, or damaged hoses.
- Axle and springs: No cracks or bending; mounts firmly attached.
- Clevis pins and cotter keys: Present and secure.
- Slack adjuster and chambers: Proper alignment and tight fittings.
- Brake linings and drums: Linings above ¼”; drums should be free of cracks.
- Tires: Minimum tread 3/32”; pressure around 110 PSI.
Inside the Cab
- Tachometer: Normal idle range (1,000–1,500 RPM).
- Water temperature: Should read between 180–205°F.
- Fuel and DEF levels: Match tank visually; DEF should show at least one light bar.
- Oil pressure: Stable between 25–50 PSI.
- Speedometer: Functional and accurate.
- Air pressure gauges: Between 90–120 PSI for both systems.
Common Mistakes to Avoid During Post-Trip Inspection
Skipping parts of the inspection or rushing through it
When drivers hurry or cut corners, small issues like loose fittings or low fluid levels often go unnoticed. These small problems can turn into major breakdowns if missed consistently. Take the time to check every key area, especially the ones that tend to get ignored.
Writing vague or incomplete inspection reports
Reports that say things like “brakes OK” or “tires fine” without details make it hard for the shop team to know what to fix or check again. If something looks off, even slightly, describe what you see, where it is, and how serious it seems.
Leaving the report blank when nothing is wrong
If there are no issues, still record that. Writing “no defects found” tells your company and DOT that the inspection was done. Skipping the entry can raise questions later during audits or stops.
Digital vs. Paper DVIRs: Which One Makes More Sense?
Digital DVIRs are quicker, easier to manage, and help catch problems faster. With a phone or tablet, drivers can fill out reports, take photos, and send everything directly to the shop, no paperwork, no delays.
Paper DVIRs still work, but they come with risks. It’s easy to forget to fill them out completely, lose them, or write something that’s hard to read. And they don’t give real-time updates.
Why Digital DVIRs Work Better:
- Reports go straight to the maintenance team, no waiting.
- Everything is time-stamped for records and inspections.
- Less paperwork means less admin work for everyone.
- You can track patterns and fix repeat issues faster.
Best Practices for Post Trip Inspections
Create a Consistent Routine
Doing your inspection the same way every time helps you remember what to check. When drivers follow a set pattern, it’s less likely that something will get missed.
Use Standardized Checklists
Using the same checklist across your team makes sure everyone checks the same things. It keeps the inspection process clear and dependable for the whole fleet.
Train Drivers Regularly
Drivers need to know why inspections matter, not just how to do them. A little training goes a long way in helping them spot issues before they turn serious.
Leverage Inspection Apps
Apps make it easier to report problems and send updates quickly. They save time and help make sure nothing important gets forgotten.
Track Defects and Repairs
Keeping good records helps you catch problems that come up more than once. It also helps the maintenance team plan ahead and fix things faster.
Post-Trip Inspection vs Pre-Trip Inspection
Post-trip inspection focuses on identifying issues. Pre-trip inspection ensures previously reported issues have been fixed.
| Attribute | Post Trip Inspection | Pre Trip Inspection |
| Timing | End of the day/trip | Start of the day/trip |
| Purpose | Report defects found during trip | Confirm readiness before driving |
| Legality | FMCSA Required (DVIR) | Required only if post-trip defect was reported |
| Action | Document and notify maintenance | Verify corrections and safe condition |
Conclusion
Post-trip inspections help drivers catch small problems before they become bigger, more expensive issues. They also keep trucks safe, legal, and ready for the next shift without surprise breakdowns.
Filling out the DVIR, whether on paper or using an app, shows that the job was done and helps the maintenance team respond quickly. When done right every day, these inspections protect drivers, save time, and keep the entire fleet running smoothly.